Děkujeme za váš zájem, brzy vás budeme kontaktovat.

Products

Technical diagnostics

Technical diagnostics

Already when working at ZKL, our founder Jan Otoupalík found out the consequences of the lack of technical diagnostics for the industry. He saw many customers willing to pay multiples of the price for accelerated bearing production and resumption of operation. These unscheduled shutdowns that drain the manufacturing plant can be prevented by monitoring its condition. At 4dot, we first focused on technical diagnostics of bearings, specializing in slow-running bearings for heavy-duty applications. Since 2017, modules for non-rotating parts and machines have also been developed.

Minimize unplanned shutdowns! Familiarize yourself with the modules and contact us.

Sliding bearings

Sliding bearings

2021

This module prevents shortening of the lifespan of sliding bearings, reduces accidents, and helps to manage service interventions. In the Sliding Bearings module, a higher level of protection is implemented by monitoring wear and lubrication in the bearing itself.

Frame

Frame

2021

The availability of key forming machines can be lost due to frame rupture. The Frame module limits local breakdown of the structure, detects the occurrence of fatigue cracks, and allows targeted intervention to protect the press from rupture.

Machine stiffness

Machine stiffness

2019

The anchoring of the machine ensures that the stress is distributed in the frame of the press. If the machine starts to oscillate due to a change in anchoring or improper use, the Machine Stiffness module will detect this condition. Maintenance specialists have the possibility to intervene in a targeted and timely manner.

Clearance

Clearance

2018

An overview of the slide clearance during each stroke makes it possible to plan final production quality and evaluate the permissibility of higher clearance in relation to higher wear and stress on the press. The Clearance module is also a quick tool for clearance evaluation after a breakdown of the press.

Tool deformation

Tool deformation

2017

The development of partial failures of the tool is not detectable by measuring the total force. The Deformation module allows the detection of small deviations in the loading of a complex tool and of an incipient problem. This insight into the inner workings of the tool enables targeted and timely intervention in order to prevent overloading and damage to the tool through unsuitable use.

Rolling bearings

Rolling bearings

2016

Awareness of the condition of rolling bearings, key components of machines, allows you to manage the availability of production capacity, protect the machine, and reduce maintenance costs. The Bearings module enables you to intervene in an accurate and targeted manner, and to preserve your available production capacity.

Technology monitoring

Technology monitoring

Gustav Gráf, the Chief Technologist at the Škoda Auto forge, is considered the founder of Technology Monitoring in 4dot. The founders of 4dot, Jan Otoupalík and Josef Burian, had been working towards this technology, but it was Gustav who gave it meaning and utility. These lie in the fact that Technology Monitoring and our services are tools for continuous process improvement.They allow technologists to evaluate the process, tool behavior or workpiece geometry. This way, quality can be improved, tool life extended, allowances reduced, or surface integrity monitored. 

The importance of user access is highlighted by the fact that the technology was created in 2016, but only in 2017 has Gustav made it a tool for the industry. Gain control over production processes! Familiarize yourself with the modules and contact us.

Surface integrity

Surface integrity

2021

Do you have grinded surfaces that are exposed to cyclical stress? To achieve the planned lifespan of these surfaces, the prescribed amount of material must be removed. The Surface Integrity module provides you with a grinding record for each part including the amount of material removed. Reduce allowances and shorten production times!

Force

Force

2020

Advancing automation and increasing quality and technical parameters bring about new challenges in process capability. The Force module provides technologists and machine operators with a tool that works with the machine's force waveform or with the waveform of individual operations instead of the maximum stroke force.

Energy

Energy

2020

The surface of the tool, the product and the cut are important parameters in the forming process. Detection of insufficient lubrication, tool surface wear or tool bluntness allows for a targeted intervention, tool replacement, or press repositioning. Targeted tool changes extend its overall lifespan.

Temperature

Temperature

2019

Machine and process temperature monitoring allows for basic control and adjustment of machine and process parameters.

Stiffness

Stiffness

2018

Is forming accuracy important to you? We have created a tool that monitors the movement of the tool during forming. Technology monitoring is the metrology of the 21st century. Increase capability and have control over your production!

Deformation

Deformation

2017

The development of partial failures of the tool is not detectable by measuring the total force. The Deformation module enables you to detect small deviations in the loading of a complex tool, and an incipient problem. This insight into the inner workings of the tool enables a targeted and timely intervention in order to prevent overloading and damage to the tool through unsuitable use.

The geometry module

The geometry module

2016

The quality of grinding and the amount of material removed are the key parameters of precision grinding. The Geometry module is a tool for evaluating the geometry of the workpiece during the grinding process, thus allowing a targeted intervention in the process and increasing grinding productivity.

Services

Services

For decades, technical diagnostics were limited to the analysis of machines in which the signal is stronger than the noise, such as motors or paper machines. Our founders Jan Otoupalík and Josef Burian took advantage of this situation and created the MUSA analyses. They can separate the noise of the manufacturing process from machine health signals. This separation of the signal was necessary to diagnose the condition of slow-running bearings in forming machines. 

The second output of the patented MUSA analyses is the noise of the manufacturing process, i.e. the signal of contact between the tool and the future product. In our company, we immediately started using this signal for process evaluation. By combining our sensors, software and know-how on signal processing we are able to extract information from places where neither a sensor nor a camera can be placed. Both in the context of technology monitoring and technical diagnostics. 

We will show you what is going on in the machines. Do not hesitate to contact us.

Service levels

Service levels

2021

The service levels respond to the different needs of production, machines and companies. The Edge variant is sufficient for fans, motors and temperature. We recommend at least the RAW variant for all manufacturing machines. If you have spare production capacity but need to manage your production resources efficiently, Engineering is the best option. The Proactive option is suitable for key machines that you cannot replace. For more information, see "The Way it Works" or contact us directly.

Extended technical support

Extended technical support

2018

Extended technical support was the precursor to all modules except Rolling Bearings, so do not hesitate to contact us if you cannot find the module to solve your problem. Since 2016, we have been developing the MUSA analyses that use simultaneous signal processing, and patents have been filed in the EU, USA and India. The MUSA analyses show you what is happening in the machine – even in places where a sensor or a camera cannot be placed.

Hardware

Hardware

"When we deployed our first transformation sensor in the forge as part of our technology monitoring, we used the available technology and the sensor lasted a few hours," recalls Jan Otoupalík, founder of 4dot. 

The research and development of sensors at 4dot started with this test. The available sensors were sufficient for the monitoring of bearings but not for the monitoring of forming machines. In addition to their lack of durability and resistance, their dimensions were inappropriate for the site. Over the course of five years of research and development, 4dot engineers experienced failures more often than successful tests. Today, however, we have patented sensors for the most demanding applications, not only for machining and forming machines. Contact us and we will help you make a choice.

Vibration sensor PM3

Vibration sensor PM3

2023

For the Rigidity and Clearance modules, it was not possible to process the analysis directly on the monitoring unit and the calculations could only be performed on the 4dot servers. This limited the use and extension of these modules. In 2020, the 4dot team started the development of a new version of the vibration sensor, and through a series of tests and prototypes, the unique PM3 sensor was created. The PM3 vibration sensor has the same footprint as the P3, achieves identical results with the P3 sensor for the Energy or Geometry modules, and has fundamentally advanced the state of the art for the Rigidity and Clearance modules.

 With the PM3 vibration sensor, it is also possible to perform one-off clearance measurements.

Vibration sensor P3L

Vibration sensor P3L

2021

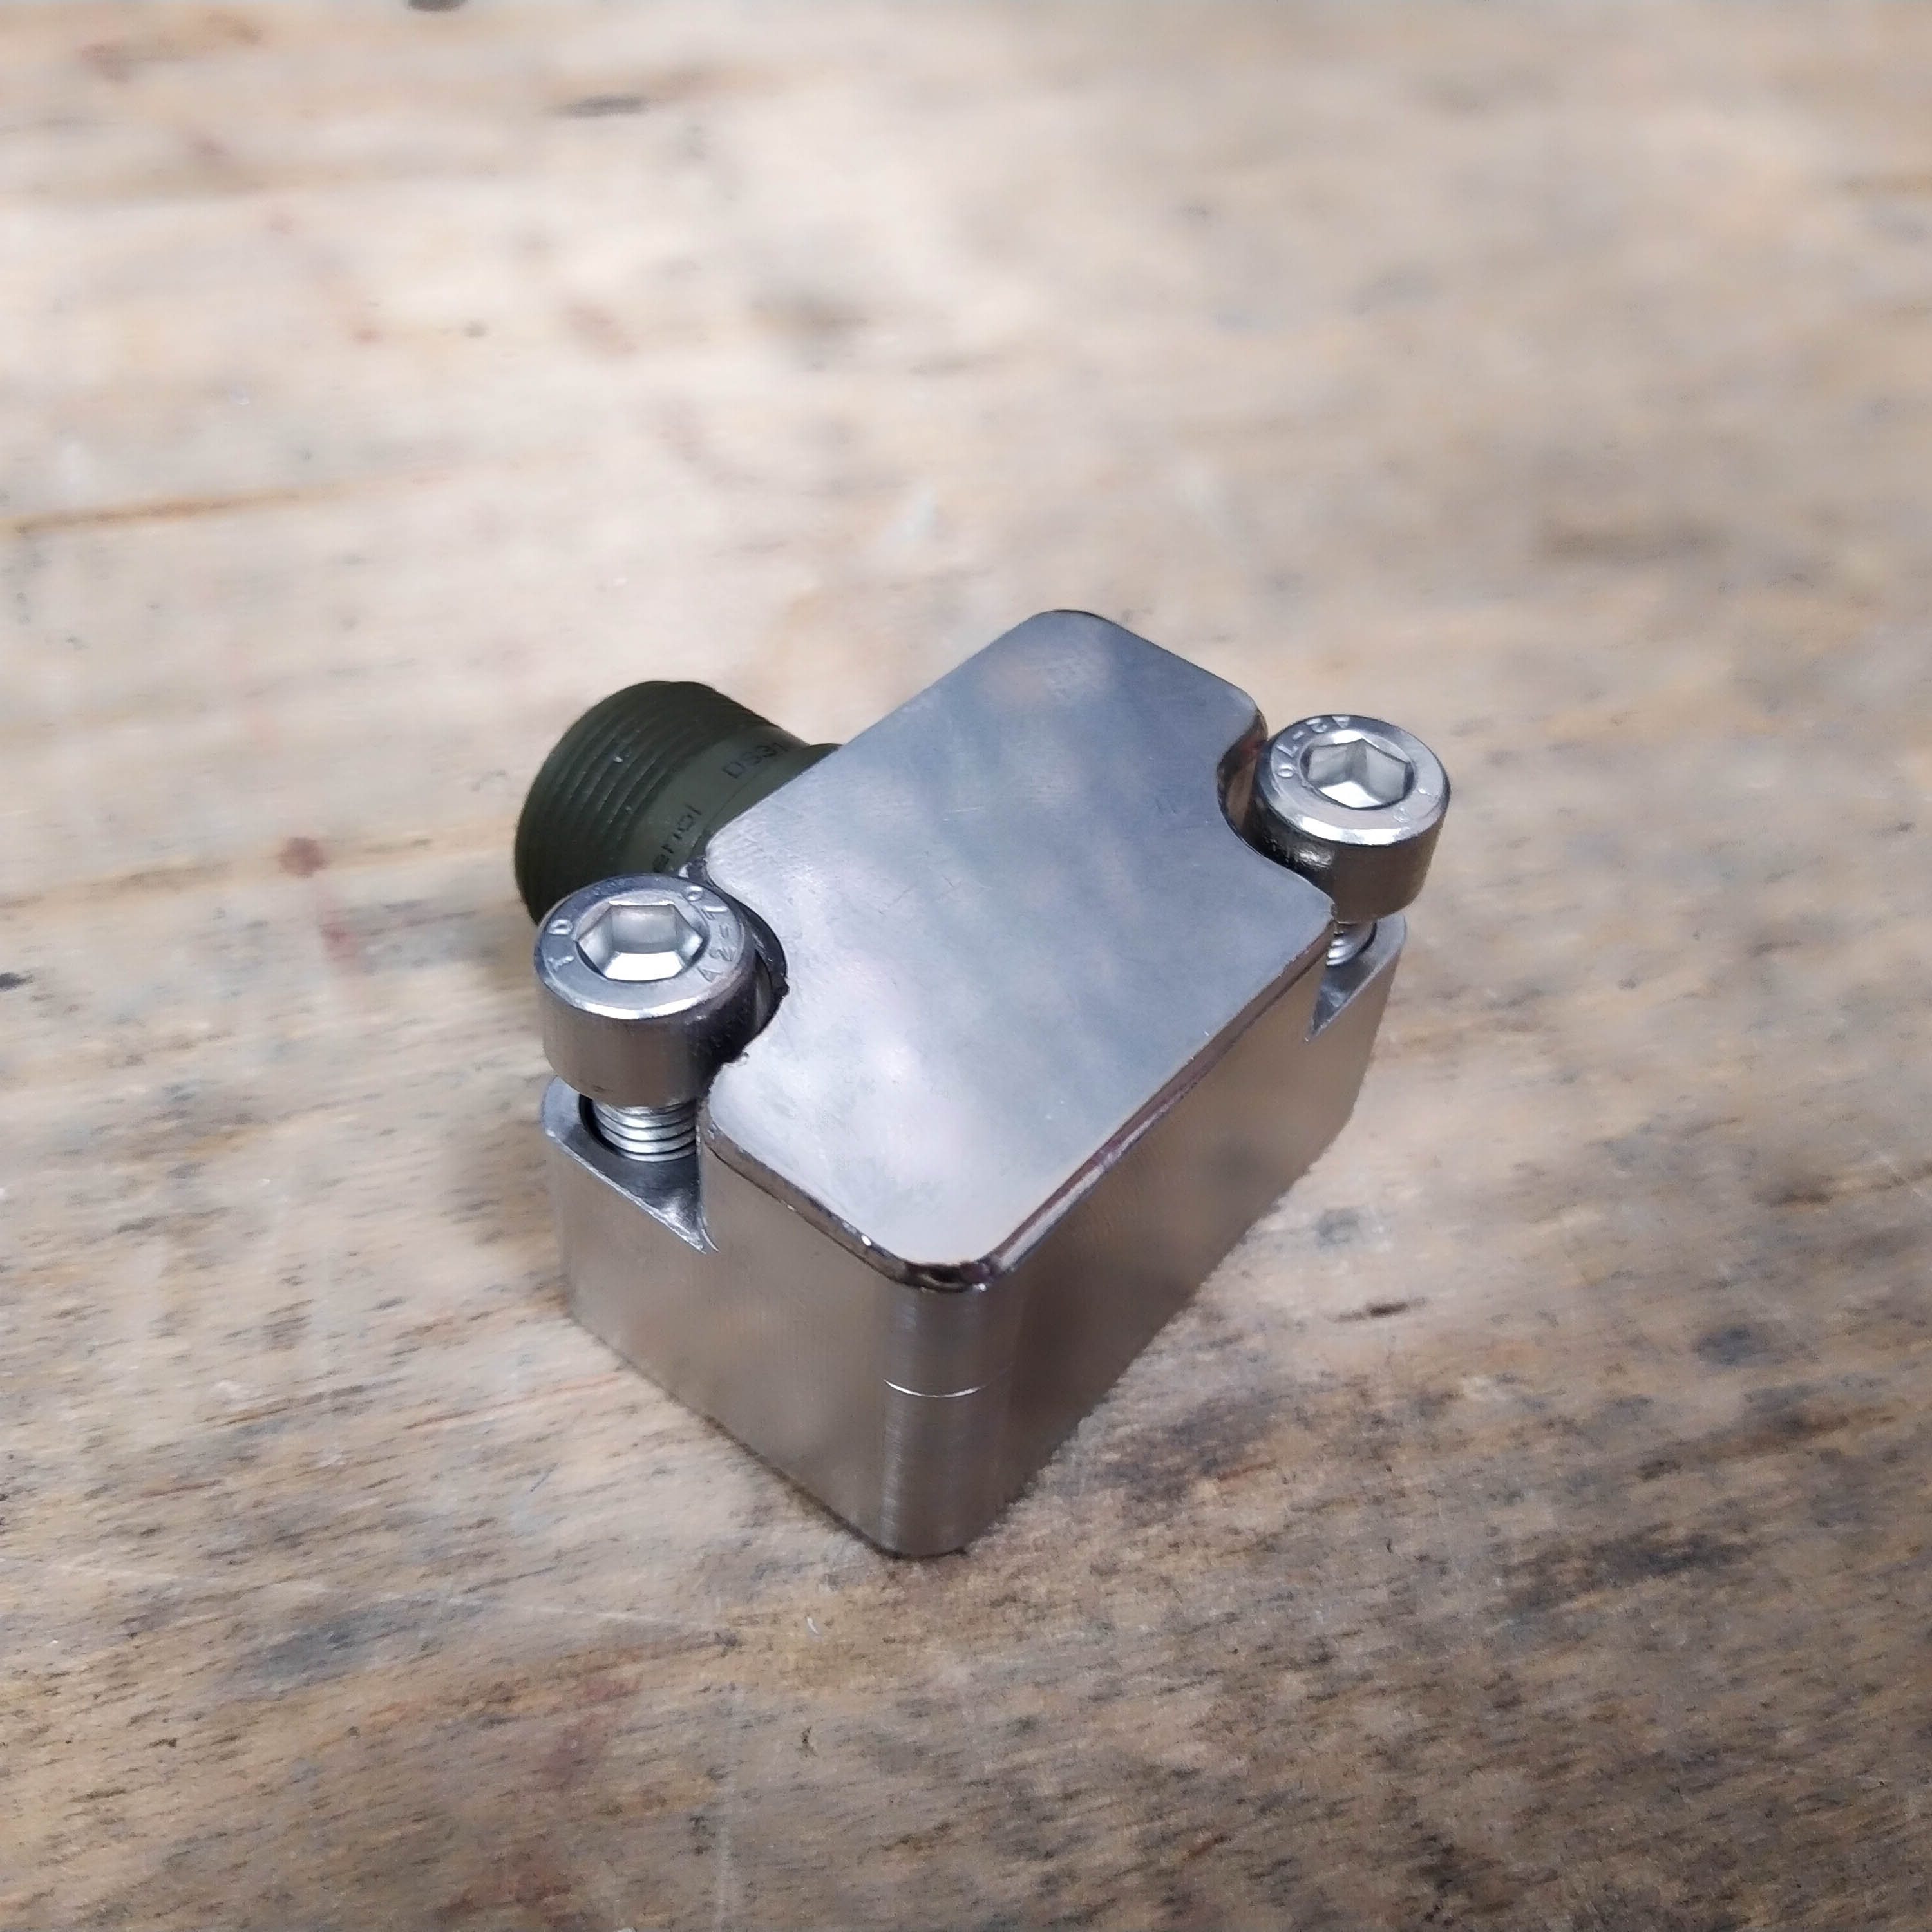
External mounting requires a robust sensor and durable wiring. The L version has been designed to operate in the most demanding applications such as in metallurgy, forming machinery and mining. A torque wrench and M8-threaded holes are sufficient for mounting.

Vibration sensor P3

Vibration sensor P3

2020

Tools need parts that are easy to assemble and disassemble, but commercially available vibration sensors do not meet this criterion. Based on our years of experience, we have created simple sensors that are easy to incorporate into your tools. A torque wrench and M6-threaded holes are sufficient for mounting. The P3 vibration sensor is useful, for example, for the Stiffness, Energy or Machine Stiffness module. Please contact us to make an inquiry.

SM Transformation sensor

SM Transformation sensor

2019

Our founders had the algorithms to process the signal but were unable to find a reliable sensor. They set three criteria in order to enable technologists and maintenance staff to see inside the machine. The sensor will work in metallurgical operation, the maximum height will be 10 mm, and the user must manage the assembly. We have achieved durability through a pre-stressed stainless-steel housing. A torque wrench and M5-threaded holes are sufficient for mounting. Unlike conventional sensors that are designed to measure force, the 4dot sensor measures tension, pressure, bending and torsion. The design solution is patented.

Cookies settings
This website uses cookies.
In the information about cookies , you will find out for what purposes we use cookies and how to handle them.
Edit my preferences
I agree
Preference Centre cookies
Basic (required) cookies
Analytical cookies
Confirm preferences